Creating Admin Plans
To create an admin plan:
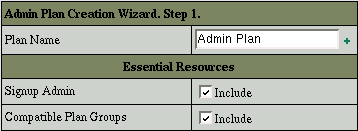
- Go to Plan Creation Wizards in the INFO menu.
- Select Administrator plan wizard. Allow admins to do the following:

Plan name: enter admin plan name.
Compatible Plan Groups: arrange compatible plans in groups.

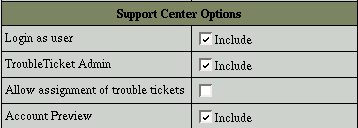
Login as user: log into users' accounts.
Allow to assign trouble tickets: assign users' trouble tickets to other tech support members.

Admin Billing Manager: administer users' billing:
debit and credit users' accounts, view reports.
Daily Financial Report: create daily user reports.

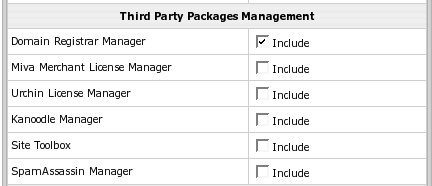
Domain Registrar Manager: set connection and prices for
Enom&OpenSRS domain registrars.
Urchin License Manager: add Urchin licenses.
Site Toolbox: configure and enable Site Toolbox utility.
SpamAssassin Manager: configure SpamAssassin.

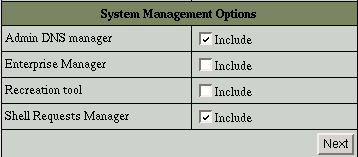
Admin DNS manager: manage DNS settings.
Enterprise Manager: manage logical and physical servers.
Recreation Tool: recreate user resources.
Shell Requests Manager: acknowledge users' shell access requests.
- Click Next to complete plan creation.
- Once the plan is created, turn this plan ON in the Signup Access section on the plans page in order to allow signups .
Use this plan to create administrative plans for all purposes.
Editing Admin Plans
To edit admin plan:
- Go to the Plans page and select necessary plan.
- On the Plan Edit Wizard, make necessary changes by checking/uncheking resources.
- Click Next to confirm changes.
|